


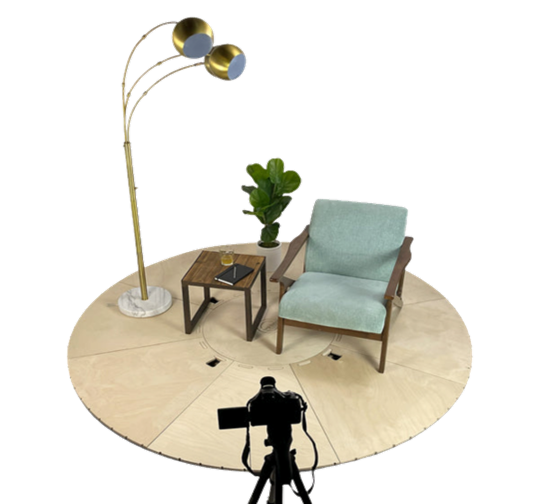
Here is a step by step guide on how to use our giant turntables. They're built to last and so easy to use that a kid could assemble them in 2 minutes.
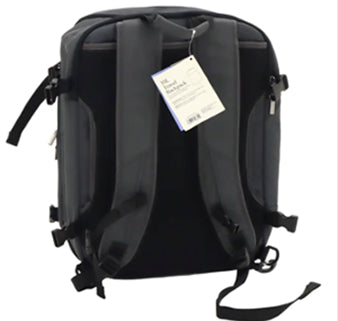
Target Open Story 35L Backpack
Using a 360° spin image on white
background, we were able to get this to
rank top 3 on Google ahead of eBay and
Amazon.
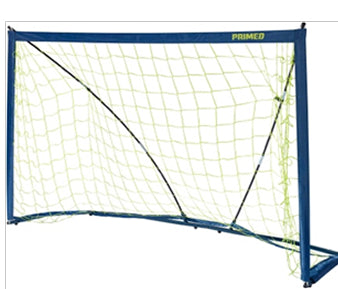
This product was able to rank above
Dick's (the manufacturer) and Amazon
after incorporating a 360° spin image.
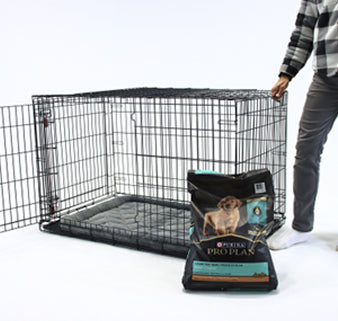
Within a month of launching this
product with a 360° spin image, it
ranked in the top 5 on Google,
further evidence of the power of
360 imagery.
Choose from a variety of our pre-set packages for your creatives.
Photographing large products has been a major thorn in the side of any e-commerce seller or product photographer. Not only is it cost prohibitive to hire an entire moving crew to move large products like furniture, refrigerators, motorcycles and more, but rotating them to capture pictures from every angle is a non-starter for most small business owners or product photographers.
If you're a product photographer, though, you're missing out on a big customer base of companies that need product photography for large products. On top of this, there has been an explosion in demand for 3D models for games, 3D models for VR, and 3D NFT models. All of these can start with 360 degree photo shoots.
Below is a tutorial on the basics you need to photograph large products for all of these applications (e-commerce, gaming, NFTs, virtual reality), including 360 degree photos.
If you're setting up a Photo studio, here are some essentials you will need:
2. A photo backdrop kit
3. 2 white sheets (1 for backdrop, 1 for turntable)
4. A camera tripod
TOTAL BUDGET: $2,200-$2,300.
After purchasing everything for your studio, it's time to set it up! Below are the steps to get up and running.
1. Measure your space & mark the center point, leaving enough room for your turntable to turn.
2. Set up your backdrop/sheet.
3. Set up your soft box lights.
4. Set up your overhead combo boom stand (optional depending on your space and lighting overhead)
5. Place StickyMat in center of your space and place Turntable Center Hub on top of StickyMat (see "How to Use" for more info).
6. Snap wheels (5 per wing) onto each wing. Screw wheels in with screws (optional, not required. If you screw in wheels you have to unscrew them to fit turntable back in the box.)
.
7. Snap turntable wings onto Center Hub, starting with the wing with an arrow on it first. Align the arrow with the arrow on the Center Hub.
8. Optional: Use Centering Guides to mark the Center Hub and wings to help you in centering your objects. NOTE: If you cover your turntable with a sheet then don't do this step.
9. Cover turntable with sheet (optional) and then place your product(s) on the top of the turntable, making sure to center the product(s) so that it is centered when you turn the turntable.
10. Start photographing your products with the arrow wing pointing forward. Place the Big Turntables marker in front of the arrow on the floor to keep track of when you are done rotating.
11. Turn the turntable and shoot at each stop. NOTE: You can flip the center hub over to go from stopping every 5 degrees to rotating freely (for video shoots).


